CAKE DECORATING
Decorating cakes makes them extra special. Like calligraphy, drawing, or playing
the piano, cake decorating takes practice. The following photographs demonstrate
a variety of different designs created using a pastry bag with only two different
tips. A paper piping cone was used to do writing and line work. The paper piping
cone designs can also be piped out on parchment paper, chilled, and transferred
to pastries when they are firm.
The decorations were piped onto a marble surface rather than a cake to show clearly
the variations that can be pressed from the same tip, simply by adjusting the way
you manipulate the bag. It is important not to overfill the pastry bag or piping
cone, so that you can control the bag. Press with even pressure. Use the other hand
merely to guide the bag. It is very important to hold the tip away from the surface
of the cake -a half inch at least- so that the design can take
shape without being squashed or destroyed. This is a mistake most beginners make.
Practice these designs on a piece of waxed paper or other clean surface. Repetition
will lead to perfection. And before you decorate directly on a cake, warm up by
practicing on a clean surface. If you happen to make a mistake on the cake, scrape
it off with a spatula and start over. Rechill the icing if it warms up too much.
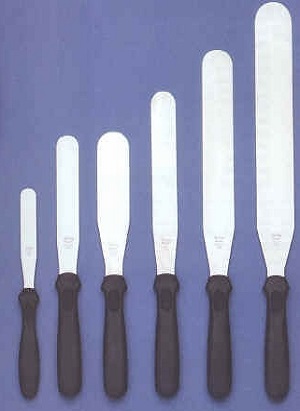
Cake Spatulas
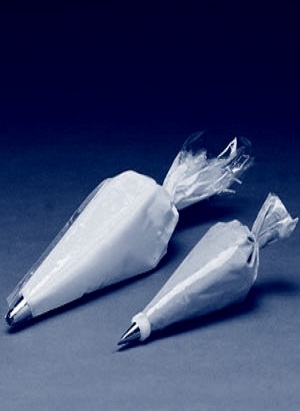
Decorating Bags
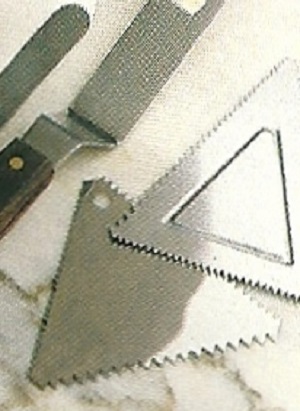
Cake Comb
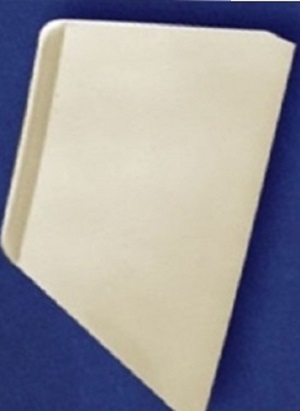
Icing Smoother
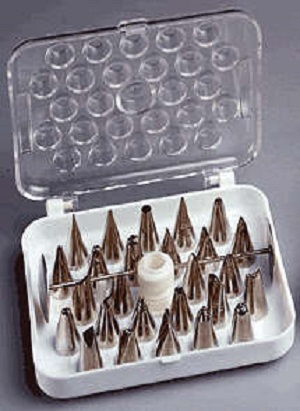
Piping Kit
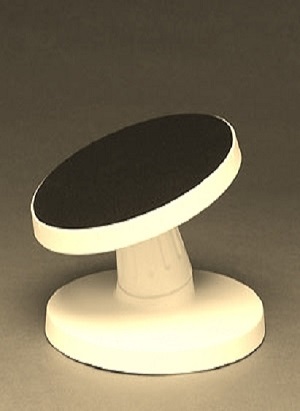
Turntable
A few basic tools make cake decorating easy. Pastry bags with tips, a cake
comb to create texture in icing, icing smoother, piping kit (different tips for
decorating bags) and a rotating cake turntable.
Place the coupler in the pastry bag so it projects slightly from the hole at the
bottom of the bag. Twist the pastry bag just above the tip and push the twisted
portion of the bag into the tip. This blocks the opening and prevents the filling
from running out of the bag while you are filling it. Hold bag cuffed over left
hand; fill bag no more than half full. Then unfold cuff and press sides of bag together
at the top and run your fingers down the outside of the bag toward the filling to
force the filling into the lower half of the bag.
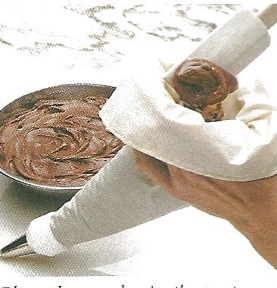
To pipe decorations: Once the bag is filled, untwist the small end of bag; hold
the top of the bag between your right thumb and index finger just above the filling.
Squeeze the filling out of the bag with the remaining fingers of your right hand.
Use your other hand as a guide while piping decorations. Periodically twist the
bag to increase pressure on the filling and keep it moving out of the tip. (If you
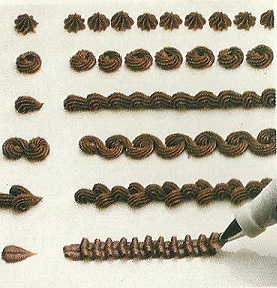
are left-handed reverse these directions.) Lines 1 through 5 (below right) were
piped out with a small open-star ornamenting tube. Line 6 employed a leaf ornamenting
tube. Line 1 is a chain of stars. Line 2 is a chain of rosettes. Line 3 is a chain
of shells. Line 4 is an S-curve in a serpentine ribbon. Line 5 is a fleur-de-lis.
Line 6 features a chain of leaves (ruffle).
Fill a paper piping cone no than half full with melted chocolate (see illustrations
below). Hold bag in right hand gently press to force chocolate out of bag. Hold
tip of bag at least 1/4 inch away from surface of cake; use left hand to guide bag
only. Lines 1 through 4 are typical border designs. Line 5 shows how to write on
cakes with chocolate. Line 6 is a classic design.
